A Step-by-Step Guide to Replacing a Commercial Door Lock
Step 1: Assess Your Current Lock System
Before you get ahead of yourself, thoroughly examine your existing commercial door lock to understand what you’re working with. Check the door material, thickness, and current lock configuration. Keep in mind that most commercial doors use either cylindrical locks, mortise locks, or electronic access control systems.
Measure the door thickness, and note the backset distance, the measurement from the door edge to the center of the lock hole. Typically, standard commercial backsets measure either 2⅜ inches or 2¾ inches, though some applications require custom measurements.
Document the current lock’s brand, model number, and key specifications. Take photos of the installation from multiple angles, including the door edge, interior hardware, and exterior components. This documentation helps you select compatible replacement hardware and serves as a reference during installation.
Examine the door frame condition around the lock area, looking for any signs of damage, warping, or wear that might affect your new lock’s performance. Before proceeding with the replacement, always address any structural issues.
Step 2: Choose the Right Replacement Lock
Select a commercial-grade lock that matches your security requirements and door specifications. Just make sure to carefully consider factors such as fire rating compliance, ADA requirements, and building code standards for your application.
Match the new lock’s backset, door thickness range, and mounting configuration to your existing setup. If you’re upgrading security levels, ensure your door and frame can support the new hardware’s requirements.
Review the lock’s certifications and ratings, looking for ANSI/BHMA grades, with Grade 1 providing the highest security and durability for commercial applications. If your door serves as a fire barrier, check for fire rating compliance.
Also, if you’re replacing multiple locks, consider key management systems. Master key systems, restricted keyways, and electronic access controls can streamline security management across your facility.
Step 3: Gather Your Tools and Materials
Assemble all necessary tools before beginning the replacement process. You’ll need the following:
- a drill with appropriate bits
- screwdrivers (both Phillips and flathead)
- a chisel set
- a deadbolt installation kit
- measuring tape
- a pencil for marking
Additionally, stock up on safety equipment, including these items:
- safety glasses
- work gloves
- adequate lighting
- a vacuum or shop cloth to clean debris
Prepare your new lock components by unpacking and organizing all hardware according to the manufacturer’s instructions. Verify that all components match the specifications you documented during assessment.
Set up a clean workspace near the installation area where you can organize small components such as screws, springs, and alignment pins. This prevents loss of critical hardware during the replacement process.
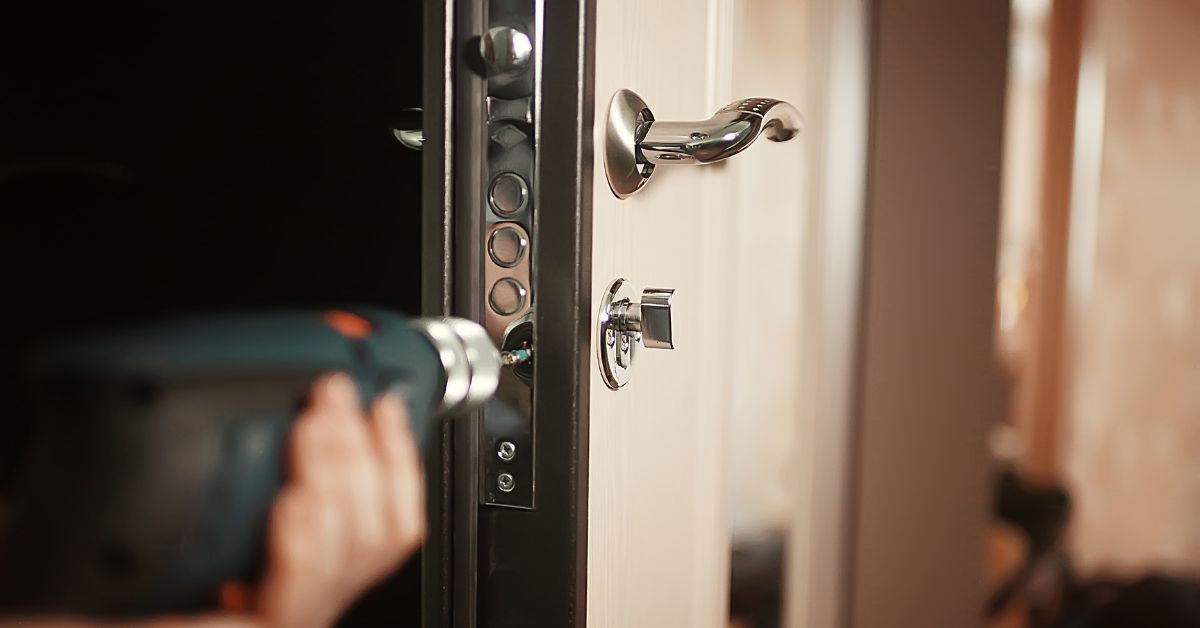
Step 4: Remove the Old Lock Hardware
Begin removal by taking out all visible screws from the interior side of the lock. Remember, most commercial locks have mounting screws that secure the lock cylinder and interior hardware to the door.
Carefully extract the lock cylinder from the exterior side of the door. Some cylinders require gentle rotation while pulling to disengage from internal mechanisms. To avoid damage to the door or surrounding hardware, do not use excessive force.
Remove the latch assembly from the door edge by unscrewing the mounting screws and sliding the mechanism out of the door cavity. Using a wire brush or compressed air, clean any debris or old lubricant from the latch cavity.
Extract the strike plate from the door frame by removing the mounting screws, then check the strike plate cavity for proper alignment and depth. Note any adjustments needed for your new hardware installation.
Step 5: Prepare the Door for New Hardware
Clean the door cavity thoroughly, removing old grease, debris, and any damaged wood or metal shavings. A clean installation area ensures proper lock function and longevity.
Test-fit your new latch assembly in the door cavity before final installation. Most commercial doors accommodate standard latch sizes, but custom applications might require minor modifications.
Check the door edge for proper latch plate alignment. The new latch plate should sit flush with the door edge without gaps or interference. Use a sharp chisel to make minor adjustments to the latch plate mortise if needed.
Verify that all mounting holes align properly with your new hardware. If necessary, drill pilot holes for screws using appropriate bit sizes to prevent splitting or thread-stripping.
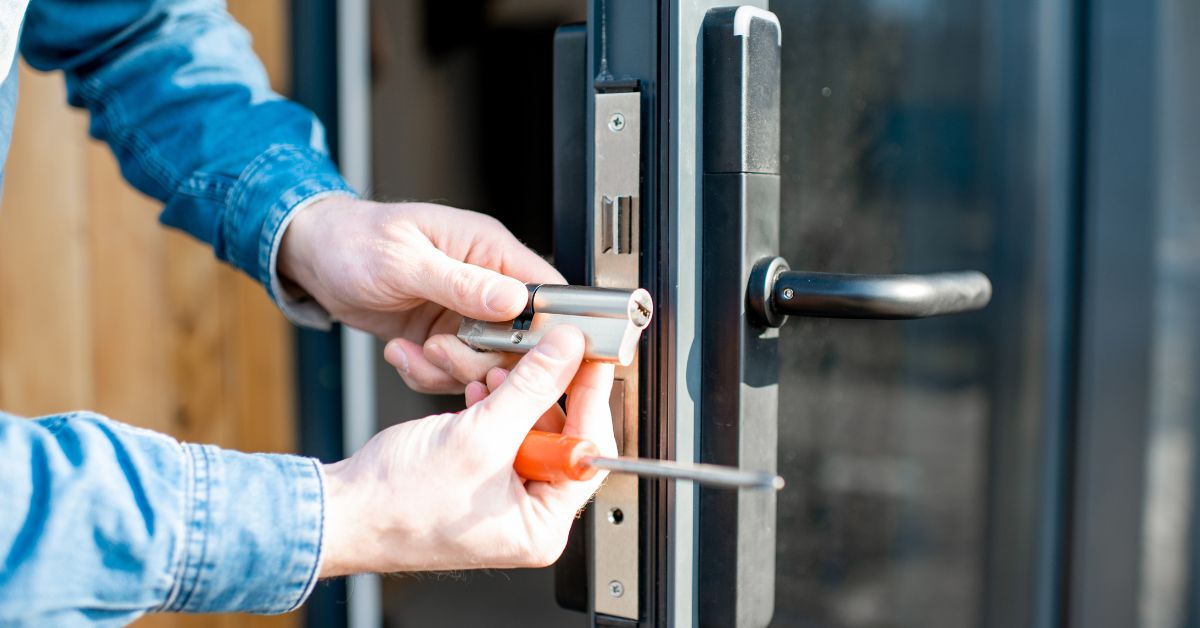
Step 6: Install the New Lock Components
To install your new lock, follow these steps carefully:
- Install the latch assembly in the door edge cavity.
- Slide the latch mechanism into position, and secure it with the provided mounting screws.
- Ensure the latch bolt operates smoothly and springs back properly when depressed.
- Insert the new lock cylinder from the exterior side of the door.
- Test the cylinder rotation to verify proper engagement before proceeding.
- Mount the interior lock hardware according to the manufacturer’s specifications.
- Align all mounting holes carefully, and tighten screws gradually in a cross pattern to ensure even pressure distribution.
- Install the strike plate in the door frame cavity, then secure it with appropriate-length screws.
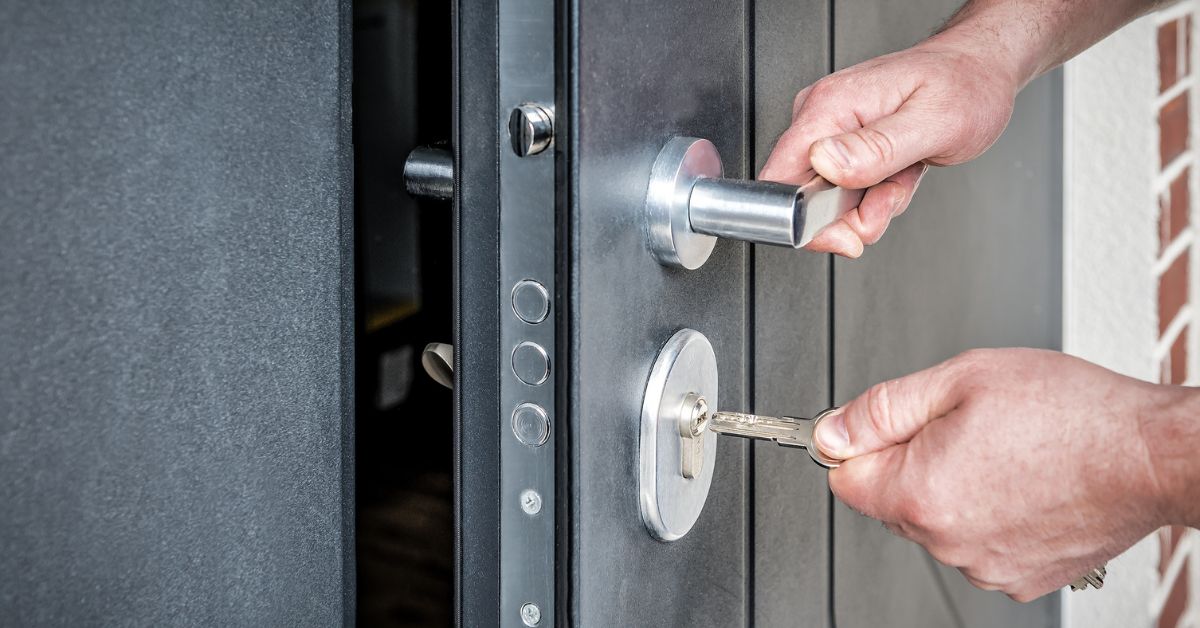
Step 7: Test and Adjust the Installation
Test the lock operation from both sides of the door with the door open first. You must verify that the key turns smoothly, the latch extends and retracts properly, and all mechanical components function without binding.
Close the door, and test the complete locking sequence, keeping in mind that the latch should engage the strike plate smoothly without excessive force. Check that the door opens and closes without interference from the new hardware.
To ensure consistent operation, test all keys provided with the new lock. Commercial locks often include multiple keys, and each should operate the mechanism smoothly without sticking or requiring excessive force.
If needed, make fine adjustments to the strike plate position or latch alignment. Most commercial installations require minor tweaking to achieve optimal performance, especially when dealing with older door frames or settling buildings.
Step 8: Final Security Check and Documentation
Perform a comprehensive security test by locking and unlocking the door multiple times from both sides. Verify that the lock cannot be bypassed through manipulation or excessive force within normal operating parameters.
Check all mounting screws for proper tightness without over-torquing. Commercial door locks experience significant stress, and loose hardware can lead to premature failure or security vulnerabilities.
Document your installation with photos and notes about key specifications, installation date, and any modifications made during the process. This documentation proves valuable for future maintenance or warranty claims. Finally, create a maintenance schedule for your new lock system.
Keep Your Commercial Properties Secure
Successfully replacing a commercial door lock requires attention to detail, proper tools, and systematic execution of each installation step. By following this step-by-step guide, you can replace your commercial door lock and ensure it protects your facility for as long as possible.
Is it time to replace your commercial door lock? Reach out to Door Hub today to get everything you need for a successful replacement.

Author
Michael Rega
Chief Marketing Officer and founding Member of DoorHub.com