How To Troubleshoot Malfunctioning Panic Hardware
Inspect for Physical Obstructions and Damage
The first step in troubleshooting any mechanical device is to perform a thorough visual inspection.
Check for External Causes
Often, the cause of a malfunction is something simple and external that you can identify and resolve quickly. Before disassembling any components, take a few minutes to carefully examine the entire panic bar assembly and the surrounding door area.
Inspect for Debris or Foreign Objects
First, check for debris such as dust, dirt, or loose screws obstructing the push bar, latch, or strike plate. Use a flashlight for a clear view. Carefully remove any obstructions with a brush, compressed air, or vacuum. Next, look for visible signs of damage or wear.
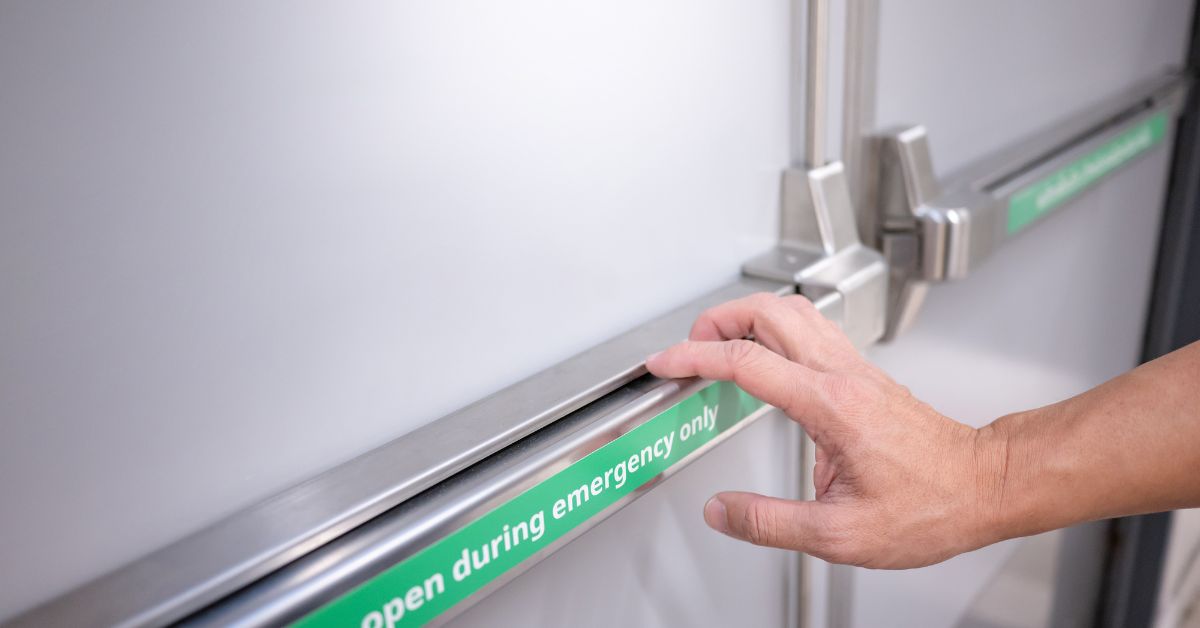
Check the Push Bar
Is the bar bent, dented, or cracked? Any deformity can interfere with its ability to retract the latch. Pay close attention to the end caps and the points where the bar connects to the housing mechanisms.
Examine the Latch Bolt
Inspect the latch that extends from the door’s edge—is it bent, worn down, or stuck in the retracted or extended position? A damaged latch bolt will not engage correctly with the strike plate.
Inspect the Strike Plate
The strike plate is the metal plate on the door frame that the latch engages with, and you must check if it’s loose, bent, or misaligned. Over time, repeated impact can cause the strike to shift or become damaged, leading to latching problems.
Test the Door’s Operation
Open and close the door, ensuring it swings freely and aligns with the frame. A sagging door can misalign the panic hardware with the strike, causing latching issues. If so, adjust the hinges before panic bar troubleshooting. Often, a visual check will reveal this problem.
Verify Correct Latch and Strike Alignment
If the door moves freely, check the latch and strike plate alignment. Misalignment is a common cause of panic hardware failure, preventing proper door closure. Slowly close the door, observing the latch bolt’s approach to the strike plate.
Vertical Alignment
Does the latch bolt line up with the center of the strike opening vertically? If it’s too high or too low, it will hit the top or bottom of the strike plate instead of entering the opening smoothly. This is a common issue with doors that have sagged on their hinges.
Horizontal Alignment
Is the latch able to fully extend into the strike opening? If it only partially enters or hits the side of the plate, the door will not be secure. This can happen if the door has shifted sideways in its frame.
Perform a Lipstick Test
Apply a small amount of lipstick, grease pencil, or a dry-erase marker to the tip of the latch bolt. Then, close the door so the latch contacts the strike plate. When you open the door, the mark left on the strike will show you exactly where the latch is hitting. If the mark is not centered on the strike opening, you must adjust it.
Correct Misalignment
First, try adjusting door hinges by tightening screws or using shims to correct a sagging door. If that doesn’t work, reposition the strike plate. Unscrew it, fill the old holes, then drill new pilot holes to mount it correctly. Remember, precision is key here.
Examine and Test the Internal Mechanisms
When external checks don’t solve the problem, it’s time to look inside the panic bar’s housing. The internal mechanisms are responsible for retracting the latch when the push bar is depressed. Over time, these components can wear out, become disconnected, or get gummed up with old lubricant and dirt.
Remove the Housing Cover
Carefully remove the screws holding the cover on the panic bar’s chassis, typically at one or both ends of the push bar. However, be gentle to avoid damaging internal components. Keep screws in a safe place.
Inspect Internal Components
With the cover off, you’ll see levers, springs, and connecting rods. Visually inspect for broken, bent, or disconnected parts. Check springs for integrity and tension, then replace them if damaged or stretched.
Clean the Mechanism
Remove accumulated grime, dust, dirt, and old grease with a clean, dry cloth or compressed air. A clean mechanism operates more smoothly.
Test the Push Bar Action
With the cover off, press the push bar, and observe internal movement. Look for smooth action or any catching or binding. Ensure levers move fully and engage with the latch retraction components. This is where you might use exit device hardware for a replacement if a part is fundamentally broken.
Lubricate Moving Parts
After cleaning, apply a small amount of appropriate lubricant to all moving parts and pivot points. Since it attracts less dust, use a light, silicone-based spray. Just make sure to avoid over-lubricating and work the mechanism several times to distribute the lubricant evenly.
Reassemble and Test
After cleaning and lubricating, reassemble the housing, and test the panic bar again. In many cases, simple cleaning and lubrication are all that’s needed to restore functionality. If you discover a broken part during your inspection, you’ll need to source a replacement from the manufacturer.
When To Call a Professional
While you can resolve many common panic hardware issues with basic troubleshooting, there are times when the problem is beyond the scope of a simple DIY fix.
Broken Internal Components
If you have identified a broken spring, lever, or another critical internal part, finding and installing the correct replacement can be difficult without expertise. A professional will have access to manufacturer-specific parts and the knowledge to install them properly.
Complex Electrical Issues
Some panic hardware is integrated with access control systems, alarms, or electromagnetic locks. If you suspect the malfunction is related to wiring or electrical components, keep in mind that it is unsafe to attempt a repair without proper training.
Fire Code Compliance Concerns
Panic hardware is a life-safety device subject to strict fire and building codes (such as NFPA 80). An improper repair could render the door noncompliant, creating a serious liability. Fortunately, most professionals are well-versed in these regulations and will guarantee the repair meets all legal requirements.
Persistent Problems
If you have tried all the troubleshooting steps, and the hardware is still not functioning correctly, it’s likely a sign of a more complex underlying issue. If you continue to tinker with it, you might cause further damage.
Your Next Steps for a Safer Exit
Functional panic hardware is crucial for facility safety. Now that you know how to troubleshoot malfunctioning panic device hardware, you can keep these crucial devices in working condition. Are you ready to invest in the safety of your building and its occupants? Contact DoorHub for all your panic hardware needs!
Author
Greg Richard
Chief Technical Officer and Founding Member of DoorHub.com